


My blog has not seen a soul for quite some time. I always take a break from blogging for a certain amount of time. Just to fuel myself with ideas and breathe some fresh air. I also had a few major exams and i wanted to do them perfect with straight A's and I'm so glad i managed to do so. But the important part was finding a theme for my final bachelor degree. I got away from doing something trendy and easy to impress. And i don't want my blog to be trendy. I just want to share what i like, I'm doing and what inspires me and is shown in my aesthetics. I have not read a good historical book in quite some time now and dust on my bookshelf is starting to compile. As knowledge produces good humor and gives my opinion credit. That is how i want my work to appear to my costumers. And that is how i want my blog to appear. When i was studying in Leeds we had a subject of Personal development where we had to create a blog like a platform to share our work and were challenged with a business opportunity how to create from ten pounds the most with innovative thinking. Our mentor praised raw artistic talent, originality and just having a passion to design. No caste system. No whining. So what i learned from all of this is just to stay true to my gut feeling. Doing what i love, working hard and being smart about it.
So i prepared for you a tutorial of a dress i made from my fathers old shirt. Step by step i show you how. It is some work, but the main thing is to be precise so the finished dress looks good. And have fun. You can alternate the design. Make it you, change it up.
*

For starters take a old shirt and cut out the sleeves on the seam. Then you are ready to play with the remaining fabric.

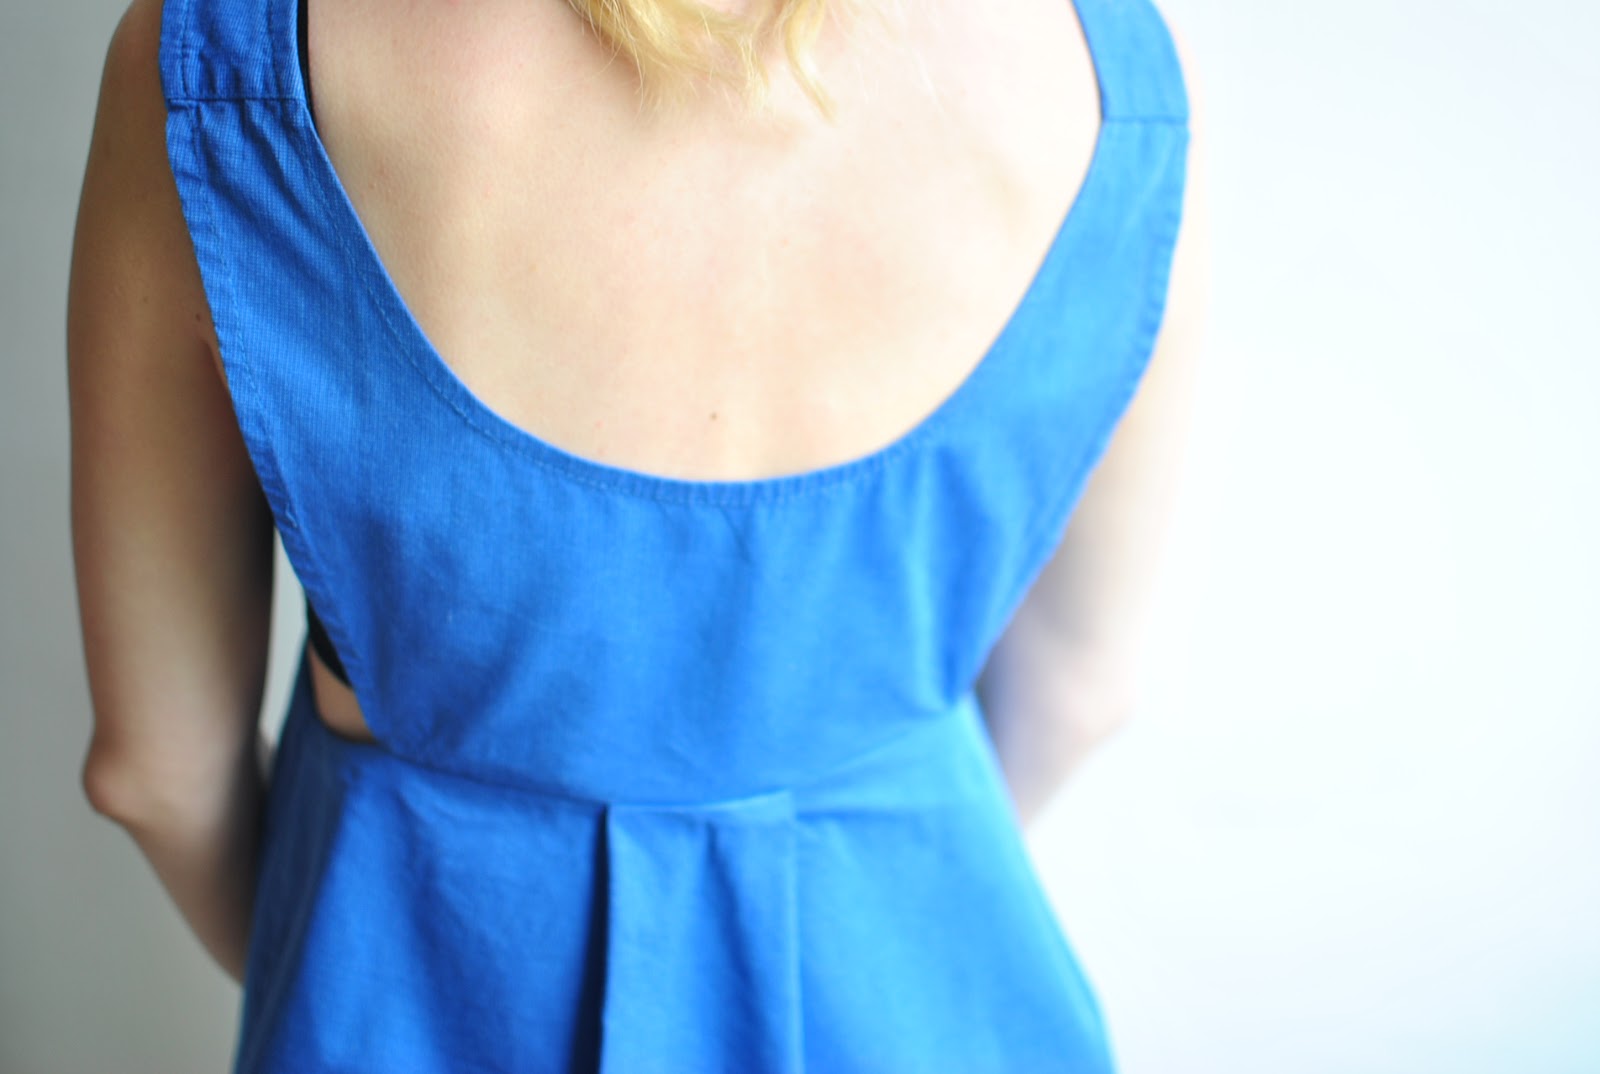
First imagine your dress how you want it to be. With a lower waistline, just below the breasts or no waistline at all. Options are limitless. I envisioned mine with a higher waistline just below the breast because it suits my figure this way. I wanted to leave the sides open so that i can wear a bikini in summer under the dress and with that show a little fabric of the bikini. And also show more of the back. So when you have a precise plan of the dress, draw the desired lines with white charcoal.When you cut out the fabric do it 1cm away from the charcoal line so you can hem it.

To make a hem: Turn the edge under 1/4” (toward the inside of the costume). For curved edges, you may
need to snip the fabric here and there. Iron the turned-under edge flat. Turn the edge under another 1/4” (this encases the ends of the fabric and keeps them from raveling) and iron again if necessary. Pin the folded-under edge to the fabric to hold it in place. Remove the pins as you stitch along the edge.
NOTE: For a softer hem, you may want to stitch the edge by hand. To keep the stitches from showing on the outside, carefully poke the needle through just a few threads of fabric. It's good to avoid raveling for the bottom pattern, the skirt. One of the most common ways to slow raveling is to zig-zig stitch close to the edge of the fabric.

Seam the upper and bottom part together when they are done. On the back side you have to make a detail to use the excess fabric and just sew it together.

A side detail will also be needed as shirts are very loose as in contrast in you want a form fitting dress. You can make the side detail before step 4. It can be easier. It is good to have a mannequin to try things before sewing the upper and down part together.

Piping just means creating a inner seam. Once you've sewn the seam it is a good idea to iron it flat. With this steam it is a good idea to iron it on one side. If you make a dress from a delicate fabric always put a damp press cloth (like a cotton handkerchief) on top of the fabric to protect it
from heat and water stains.
from heat and water stains.
*
So this is it. Enjoy your new dress.
If you have a question just leave me a comment.


Lovely illustrations!
OdgovoriIzbrišiCiara x
www.atrickleofmeaning.com
great!
OdgovoriIzbriši